How to lock cells in excel To lock cells in Excel to prevent them from being edited, you first need to ensure that the worksheet is protected, as cell locking only takes effect once sheet protection is applied. Begin by selecting the cells you wish to lock. By default, all cells in Excel are set to be locked; however, if you’ve previously changed this setting or want to double-check, right-click on the selected cells, choose ‘Format Cells’, and then go to the ‘Protection’ tab. Ensure the ‘Locked’ checkbox is ticked. Next, protect the worksheet by clicking on the ‘Review’ tab on the ribbon, then select ‘Protect Sheet’. You can set a password to further secure the sheet. Once the sheet is protected, the selected cells will be locked, and cannot be modified without unprotecting the sheet, typically requiring the password you’ve set. This is an effective way to safeguard your data from unintentional edits or deletions.
Understanding the Need for Locking Cells
- Data Integrity: Locking cells ensures that critical data remains unchanged, preventing accidental modifications that could affect calculations or reports.
- Controlled Access: By locking cells, you control who can edit specific data, enhancing security and reducing the risk of unauthorized changes.
- Preserve Formulas: Important formulas and calculations can be preserved by locking the cells containing them, preventing inadvertent alterations that could disrupt functionality.
- Data Validation: Locked cells help enforce data validation rules, ensuring that inputs conform to specified criteria and maintaining data accuracy.
- Presentation Purposes: In reports or presentations, locking cells maintains the intended layout and formatting, preventing unintended changes that could affect the document’s visual appeal or readability.
- Compliance Requirements: In regulated environments, locking cells may be necessary to comply with audit or regulatory standards, ensuring data consistency and reliability.
- Collaborative Work: When collaborating on spreadsheets, locked cells provide a framework where contributors can focus on their designated areas without interfering with others’ work.
- Version Control: Locking cells can aid in version control by preventing unauthorized modifications to finalized data or documents, preserving historical accuracy.
Preparing Your Worksheet Before Locking Cells
Before locking cells in your Excel worksheet, follow these steps to ensure everything is set up correctly:
- Review Data Structure: Ensure your data is organized logically and all necessary calculations or formulas are correctly entered.
- Format Cells: Apply formatting such as currency, dates, or number styles as needed for clarity and consistency.
- Protect Important Formulas: Identify cells containing critical formulas or calculations. Consider locking these cells to prevent accidental changes that could affect data accuracy.
- Set Data Validation: Use data validation rules to control what can be entered into specific cells, ensuring data integrity.
- Hide Sensitive Information: Hide any rows, columns, or sheets containing sensitive information that doesn’t need to be visible or editable by all users.
- Create Backup: Always create a backup copy of your worksheet before applying any protection measures. This ensures you have a safe copy in case of unexpected changes or errors.
- Document Instructions: If necessary, provide clear instructions or guidelines for users regarding which cells are locked and why. This helps maintain transparency and facilitates efficient collaboration.
Step-by-Step Guide to Locking Cells in Excel
Locking cells in Excel involves both setting the cells to be locked and protecting the worksheet. Here’s how to do it:
- Select Cells to Lock:
- Click and drag to select the cells you want to lock. You can select multiple non-contiguous cells by holding down the Ctrl key while selecting.
2. Open Format Cells Dialog:
- Right-click on the selected cells and choose ‘Format Cells’ from the context menu. Alternatively, you can press Ctrl+1 to open the Format Cells dialog box.
3. Set Cell Protection:
- In the Format Cells dialog, go to the ‘Protection’ tab.
- Check the box that says ‘Locked’ to prevent changes to these cells when the worksheet is protected.
- Click ‘OK’ to apply the changes.
4. Protect the Worksheet:
- Now, protect the worksheet to enforce cell locking.
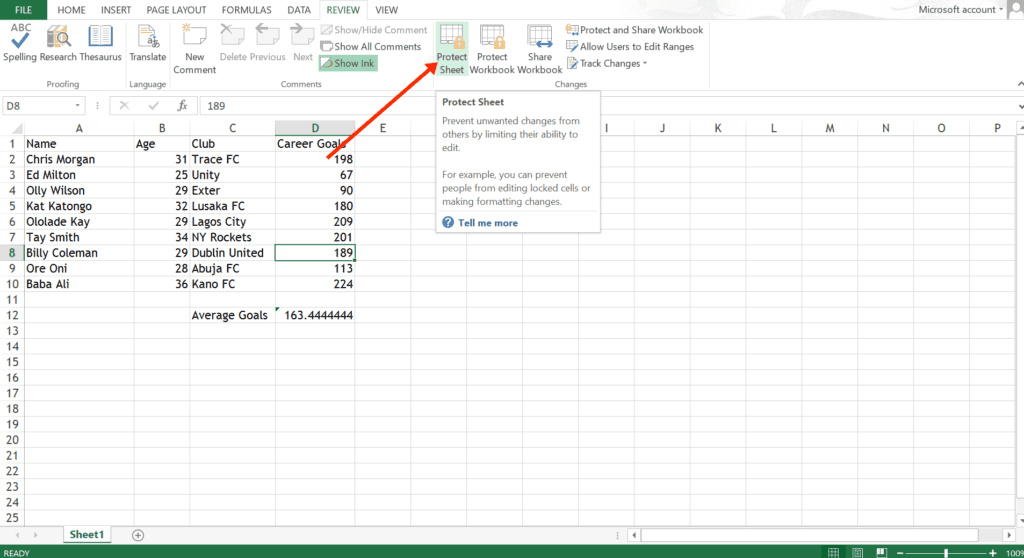
- Go to the ‘Review’ tab on the Excel ribbon.
- Click on ‘Protect Sheet’ in the ‘Changes’ group.
5. Configure Protection Settings:
- In the Protect Sheet dialog, you can set a password to prevent others from unprotecting the sheet without authorization.
- Optionally, choose specific actions users can perform while the sheet is protected, such as selecting locked cells, formatting cells, or inserting/deleting columns and rows.
- Click ‘OK’ to finalize the protection settings.
6. Confirm Protection:
- Enter a password if you set one in the previous step.
- Click ‘OK’ to protect the sheet.
7. Test the Locked Cells:
- After protecting the sheet, try to edit a locked cell. You should see a message indicating that the cell is protected and therefore cannot be modified until the sheet is unprotected.
8. (Optional) Unprotect the Sheet:
- To make changes to locked cells or unprotected elements, go back to the ‘Review’ tab, click ‘Unprotect Sheet’, and enter the password if prompted.
Locking Cells vs. Protecting Entire Worksheets
Locking Cells:
- Purpose: Locking cells in Excel refers to setting specific cells to prevent them from being edited. This feature is useful when you want to protect individual cells containing formulas, constants, or other critical data from accidental changes.
- Process: To lock cells, you select the cells you want to protect, open the ‘Format Cells’ dialog, go to the ‘Protection’ tab, and check the ‘Locked’ box. After setting cells to be locked, you then protect the worksheet to enforce these settings.
Protecting Entire Worksheets:
- Purpose: Protecting an entire worksheet in Excel restricts various actions users can perform on the sheet, such as editing cells, formatting, inserting/deleting rows and columns, and more. It is useful when you want to prevent unauthorized access or modifications to the entire worksheet.
- Process: To protect a worksheet, you go to the ‘Review’ tab on the Excel ribbon, click ‘Protect Sheet’, and optionally set a password. You can specify which actions users are allowed to perform while the sheet is protected.
Key Differences:
- Scope: Locking cells applies only to selected cells within the worksheet, while protecting the entire worksheet applies restrictions to the entire sheet.
- Functionality: Locking cells primarily prevents editing of specific content, whereas protecting the worksheet restricts a broader range of actions that users can perform.
- Flexibility: Protecting the entire worksheet allows you to set permissions for various actions, whereas locking cells is more focused on preserving specific data integrity.
Conclusion
In conclusion, How to lock cells in excel mastering the capabilities to lock cells and protect entire worksheets in Excel is crucial for maintaining data integrity and controlling access effectively. Locking cells ensures that specific data and formulas remain unchanged, guarding against accidental modifications within designated areas. This feature is invaluable for preserving critical information and ensuring accurate calculations. Protecting entire worksheets extends these safeguards across the entire document, restricting user actions like editing and formatting to prevent unauthorized changes. By utilizing these Excel functionalities strategically, users can bolster data security, streamline collaborative efforts, and uphold the reliability of their spreadsheets in diverse professional environments. Understanding and implementing these features empower users to manage data securely and maintain the integrity of their Excel workbooks with confidence.
FAQs
Q: 1How do I lock cells to prevent editing?
Ans:First, select the cells you want to lock. Right-click and choose ‘Format Cells’. In the ‘Protection’ tab, check ‘Locked’ and click ‘OK’. Then, protect the sheet from the ‘Review’ tab by clicking ‘Protect Sheet’.
Q:2.Can I lock cells with formulas?
Ans: Yes, locking cells with formulas is important to prevent accidental changes. Follow the same steps as locking regular cells to protect formulas from editing.
Q:3 How do I unlock locked cells in Excel?
Ans : To unlock cells, unprotect the sheet by going to the ‘Review’ tab and clicking ‘Unprotect Sheet’. Enter the password if required, then select the cells and uncheck ‘Locked’ in the ‘Format Cells’ dialog.
Q:4.What happens if I lock cells without protecting the sheet?
Ans: Locking cells alone won’t prevent editing unless you protect the entire sheet. Without sheet protection, locked cells can still be modified.